Modelling
Posing Techniques Every New Model Should Practice
Posing looks effortless in great photographs, and that effortlessness is the result of deliberate practice. Learn the foundations now and your body will know what to do when the camera is pointing at you.
Watch a seasoned model on set and you'll notice something: they barely seem to think about their body. Directions from the photographer land as immediate, fluid adjustments. That ease is not a personality trait, it is a trained skill built through hundreds of hours of practice. The good news is that the same skill is completely learnable, starting with the core techniques in this guide.
If you are just beginning your modelling journey, pairing this guide with a look at how to start modelling will give you the full picture of what to work on in those first critical months.
Posing is muscle memory
The single most important thing to understand about posing is that your brain cannot process instructions and simultaneously look natural under pressure. If you have to consciously think "where are my hands?" when a photographer is counting you down, the result will look stiff and self-conscious.
The solution is repetition away from the camera. Practice the same shapes and poses so many times that executing them feels no more demanding than walking. By the time you're on set, your body already knows what to do, your mind is free to focus on connection, energy and the photographer's creative direction.
Posture and the spine
Everything in modelling starts with posture. A strong, aligned spine is the invisible scaffolding that makes every other pose work.
The foundation position
Stand tall with your feet hip-width apart. Imagine a cord attached to the crown of your head pulling gently upward, this lengthens your neck and lifts your chest without puffing it out. Pull your shoulder blades slightly down and back. Your core should be gently engaged, not sucked in rigidly.
The "S" curve
A completely flat, symmetrical stance reads as static and dull on camera. Introduce a subtle S-curve by shifting your weight onto one hip, which drops one shoulder slightly and creates a natural curve through your waist. This asymmetry is what gives poses visual interest and life.
Practice this in front of a full-length mirror until you can find it instantly without looking down at your feet. Once it feels natural standing still, try moving into and out of it smoothly.
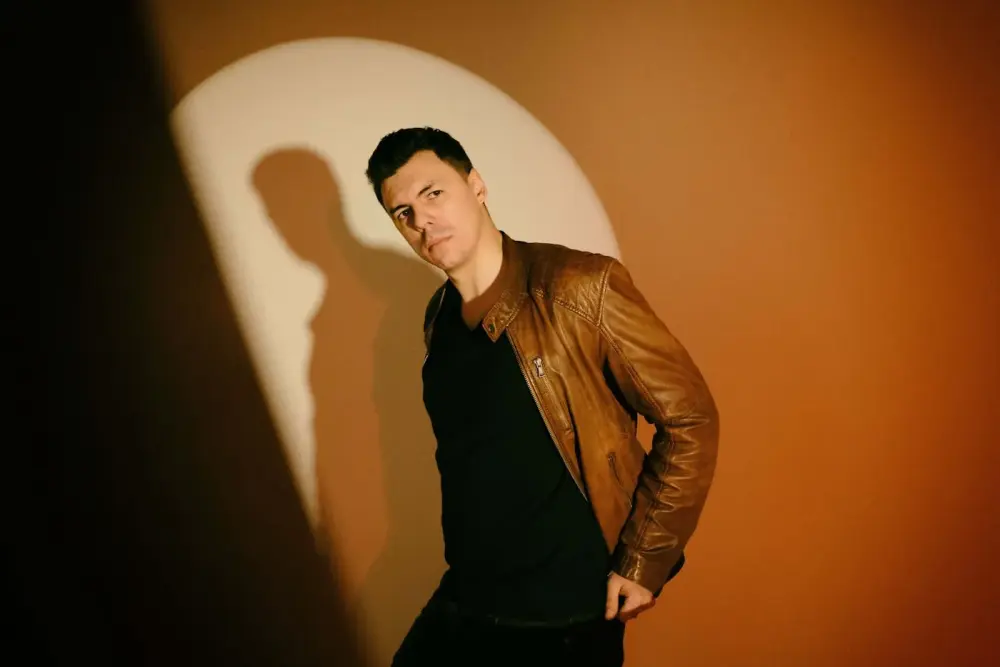
Angles and the "broken" limb
Straight limbs, arms pressed flat against your sides, legs planted rigidly parallel, create an unflattering, tense silhouette. The solution is angles.
Turn everything slightly
When facing the camera, turn your body about 45 degrees to one side and then look back toward the lens. This simple adjustment creates depth and slims the silhouette. Almost nothing photographs well face-on and completely flat.
The "broken" limb technique
A broken limb simply means introducing a bend, at the elbow, wrist, knee or ankle. A slightly bent elbow prevents your arm from pressing flat against your body and creating width. A bent knee creates a more dynamic leg line. One foot slightly in front of the other, with weight shifted back, creates length and elegance.
The rule of thumb: never let any limb hang perfectly straight. Always introduce a subtle angle somewhere.
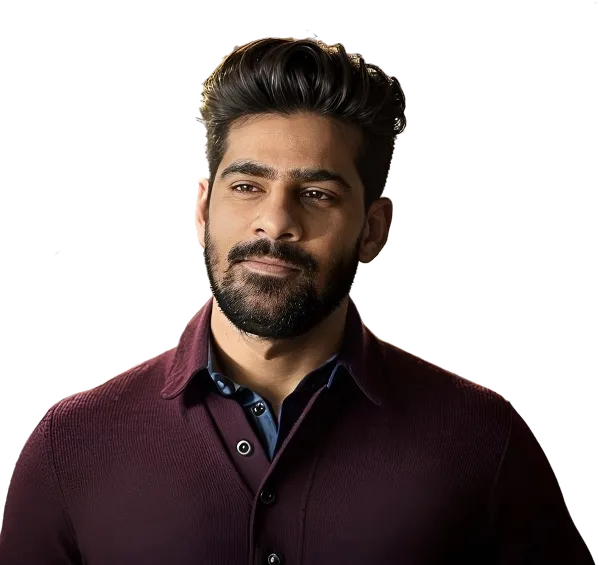
Hands, chin and jawline
Hands and the face are where most beginners struggle the most, and for good reason. Both areas are extremely visible and both are hard to control naturally under pressure.
Hands
Relaxed, slightly open hands photograph far better than clenched fists or rigidly flat palms. Let your fingers be gently separated and slightly curved, imagine you're holding a very light ball. When placing a hand on your face, hip or body, lead with the side of the hand rather than the palm, and never press hard enough to distort the skin.
Chin and jawline
Bring your chin slightly forward and then tilt it down just a touch. This sounds counter-intuitive, but it separates the jaw from the neck, defines the jawline, and eliminates shadows under the chin that can make the face look heavier. Practice this angle in a mirror until it feels natural, it's one of the highest-impact adjustments any model can make.
The difference between a double chin and a sharp jawline is often just a centimetre of chin position. Practise it until it's automatic.
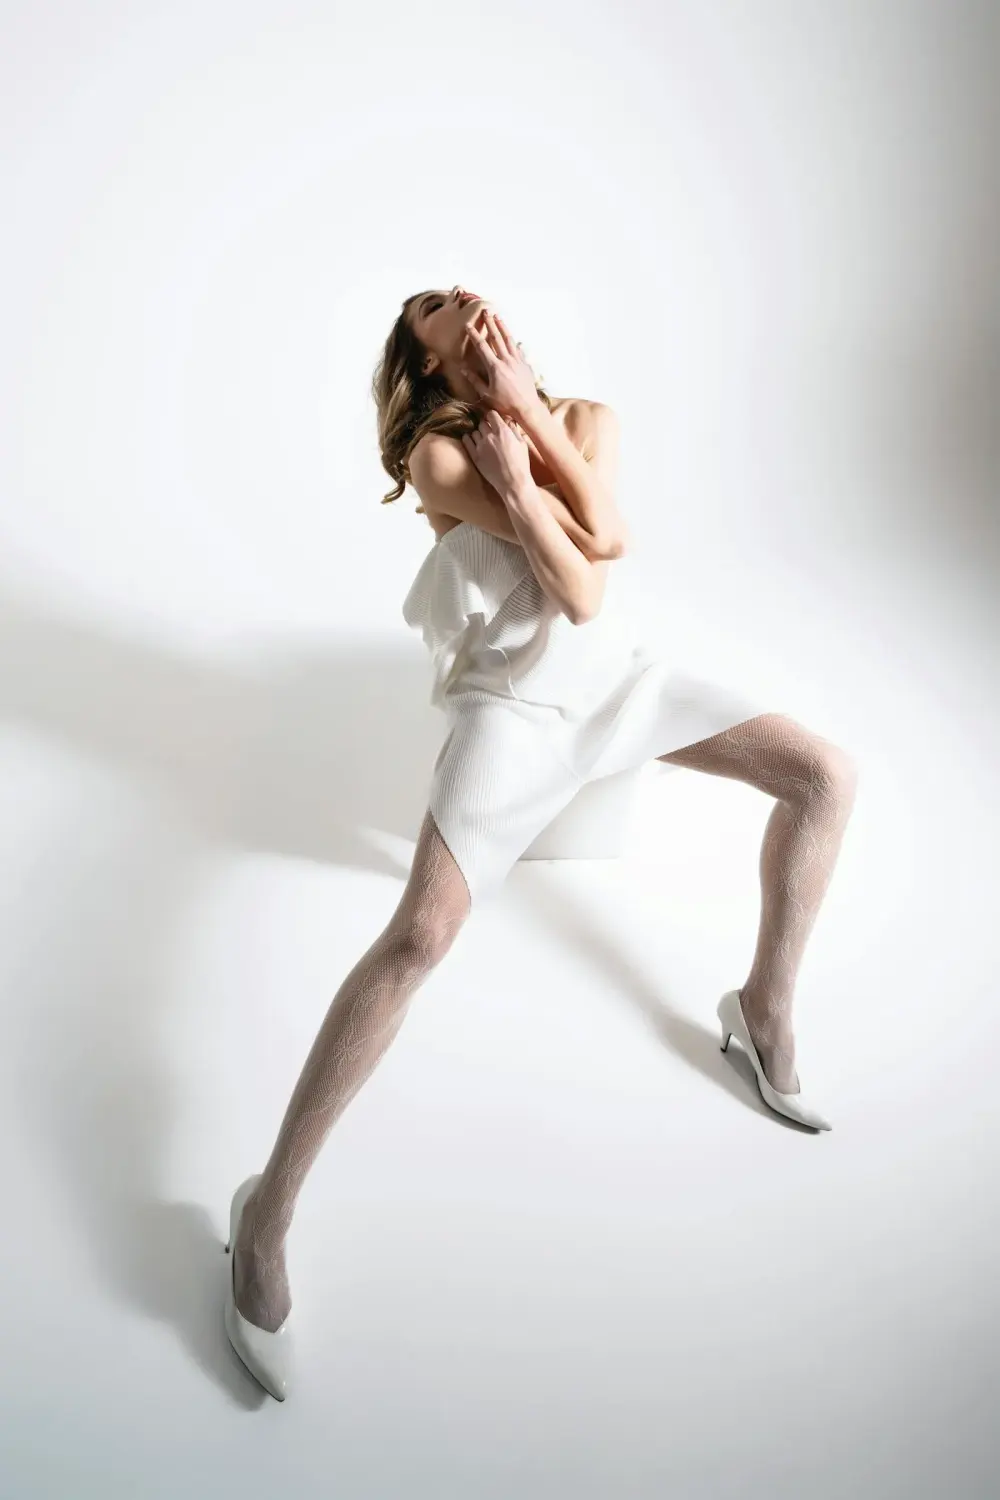
Movement and flow
Static poses have their place, but some of the most dynamic images come from captured movement. Learning to move fluidly and pause at good moments is a valuable skill.
Walking into a pose
Try walking slowly in front of a mirror, then freezing mid-step. Notice which frames look natural and which look mid-stumble. The sweet spot is usually the moment of weight transfer, one foot forward, torso slightly rotated. Practice freezing deliberately at these points.
Hair and clothing movement
Running your hands through your hair, shaking out a jacket, or stepping quickly and stopping can all produce genuinely candid-looking energy in a still photograph. Discuss movement ideas with your photographer at the start of the shoot so they're ready to capture the right moment.
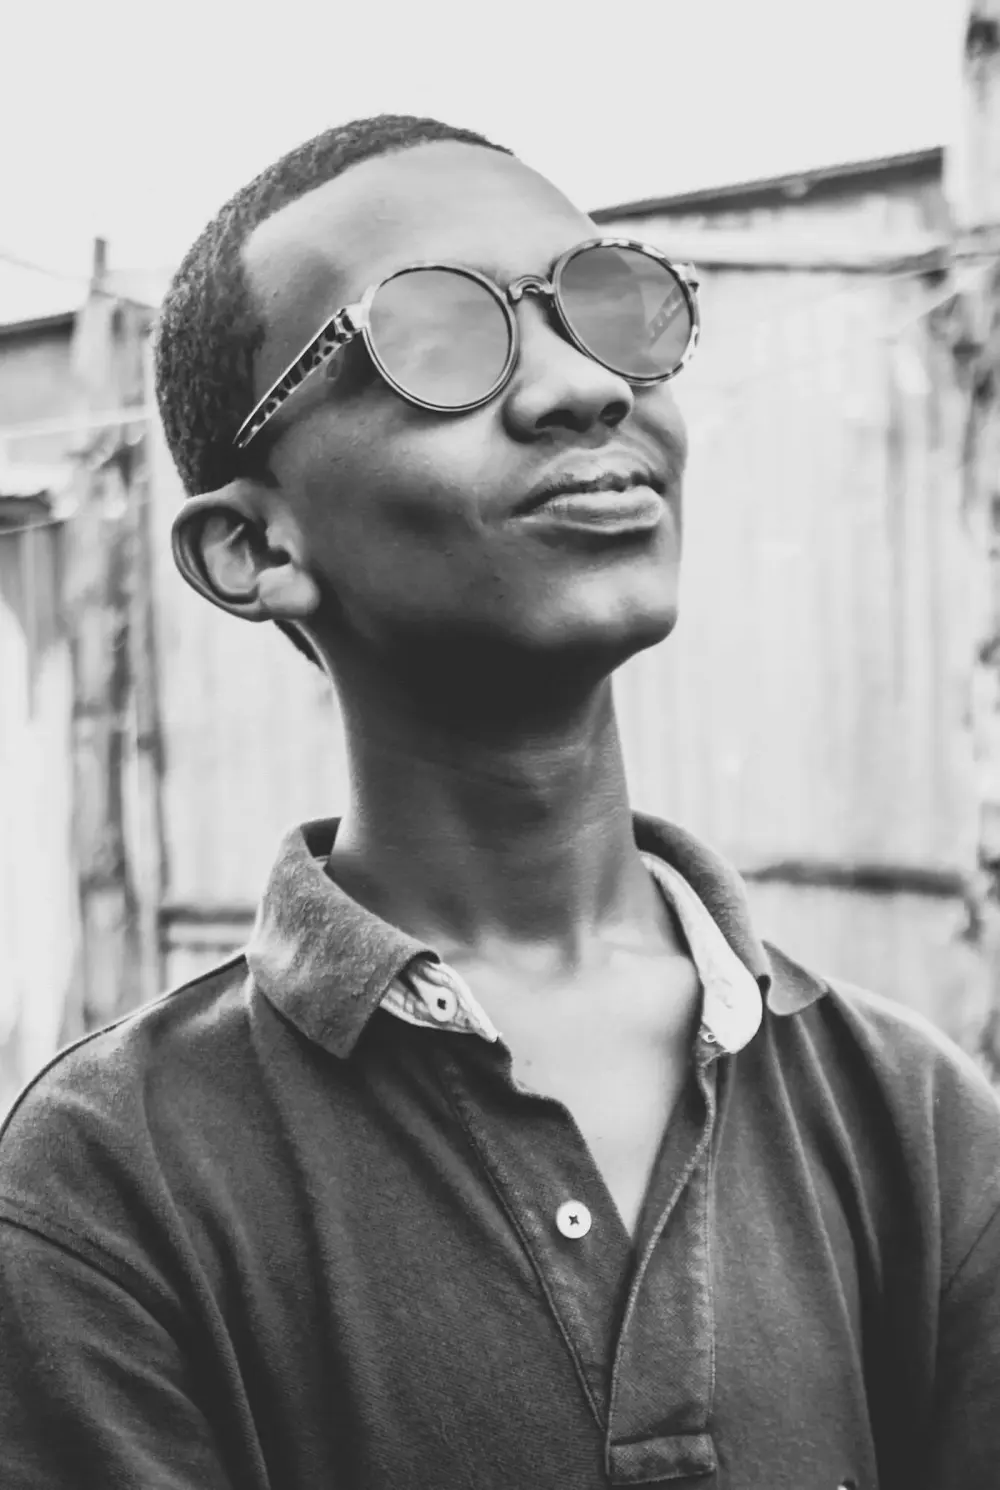
Expression and the eyes
A technically perfect pose with dead, empty eyes produces a technically perfect photograph that no one connects with. Expression is not optional, it is the difference between a forgettable shot and a compelling one.
The key is intention. Before the shutter fires, decide what you are communicating. Are you confident? Playful? Composed? Vulnerable? Even a completely neutral expression should carry some internal quality, models often describe it as "thinking something" rather than feeling blank.
For the eyes specifically: a slight squint, sometimes called "smizing", activates the muscles around the eye socket and creates depth and engagement. Practise this in a mirror by thinking of something amusing or something you find genuinely attractive. The result should look natural and alive, not forced.
If you want to develop your expressive range further, the skills you build in acting fundamentals transfer directly to editorial and commercial modelling, being able to inhabit a mood on demand is a significant professional advantage.
Practice with a mirror and phone
Your two most important practice tools cost nothing: a full-length mirror and your phone camera.
Mirror work
Spend time in front of a mirror working through each of the techniques in this article. Notice what looks good from your own perspective. Experiment with the S-curve, chin position, hand placement and expression. You're building a library of shapes and angles that feel natural and look strong.
Phone on a timer
The mirror gives you real-time feedback, but a camera gives you what the photographer actually sees. Set your phone camera on a timer or ask a friend to take photographs while you practice. Review them critically, notice what works and what doesn't. Over time, your internal sense of what photographs well will sharpen significantly.
Aim to practise for at least fifteen minutes several times a week. Consistency matters far more than marathon sessions. Once your posing feels natural, you'll be much more prepared for your first proper shoot and for building a strong modelling portfolio.
Posing for your own body
Generic posing advice is a starting point, not a final answer. Every body is shaped differently, and part of developing as a model is learning which angles and shapes work best for your specific proportions.
- Photograph yourself from multiple angles and heights, sometimes a slightly higher or lower camera position makes a significant difference.
- Experiment with which side of your face or body photographs more strongly.
- Notice which poses create the silhouette you want and which ones work against your natural proportions.
- Ask photographers for feedback after shoots, most are happy to share what worked and what didn't.
The goal is not to fit your body into poses, but to find poses that make your body look its best. That process takes time and honest self-study, but it builds the kind of self-knowledge that makes working with photographers genuinely collaborative and productive.