Makeup
HD Makeup: Looking Flawless on Camera
A look that turns heads in real life can fall flat, or worse, appear heavy and unnatural, the moment a camera is pointed at it. HD makeup follows a different set of rules, and understanding them makes every shoot more confident and consistent.
Modern cameras are extraordinarily unforgiving. High-resolution sensors and studio flash both reveal detail the naked eye glosses over, texture, patchiness, harsh lines, and the ghostly white glow that SPF creates under flash photography. The job of HD makeup isn't to pile on more product; it's to create an even, controlled surface that reads as healthy skin rather than a mask.
If you're new to the broader principles of makeup application, the guide on makeup basics for beginners covers the foundational skills this article builds on. Come back here when you're ready to adapt those skills specifically for the camera.
Why HD and camera makeup is different
In normal lighting, the human eye compensates for colour variation, softens texture and blends edges. A camera does none of that. Key differences to understand:
- High-resolution sensors pick up every edge, a foundation line at the jaw, a harsh brow stroke or a clumped lash will all read clearly on camera.
- Flash photography reflects light differently from ambient light. Products that look fine in daylight, particularly those with physical SPF ingredients, can reflect flash back as white areas on the face.
- Video under studio lighting is even more critical: the sustained light source reveals movement, creasing and uneven coverage across every frame.
- Colour temperature shifts depending on the light source. A warm tungsten set will make cool-toned makeup look grey; a cool daylight setup will flatten warm tones.
The guiding principle is restraint: less product, better blended consistently outperforms heavy coverage on camera.
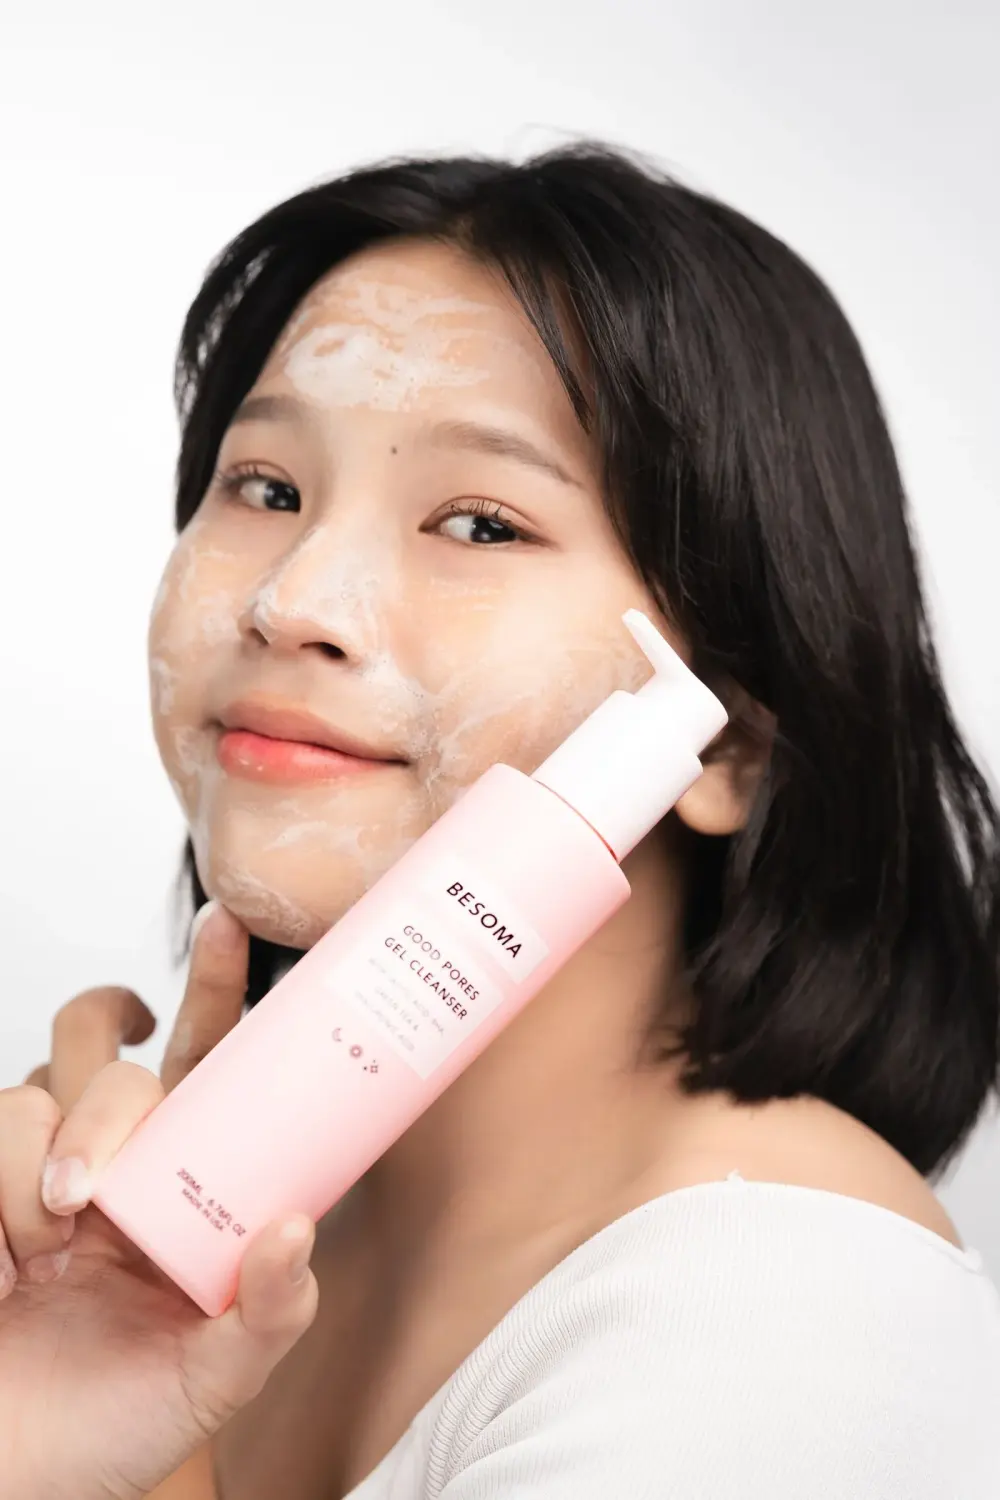
Skin prep is everything
Skin prep for a shoot is more thorough than your everyday routine, because the camera gives you no hiding places. Begin the evening before:
- Do a gentle exfoliation the night before, not the morning of, to remove dead skin cells without causing redness or sensitivity.
- Apply a hydrating serum and a good moisturiser and let them work overnight.
- On the morning of the shoot, cleanse gently, apply moisturiser and let it absorb fully before touching anything else. A dewy, well-hydrated surface blends product smoothly and prevents the dry, chalky look that heavy coverage creates on unprepped skin.
- A hydrating primer, not a mattifying one unless you're specifically shooting under conditions where shine is a problem, gives makeup something to grip.
If your skin is prone to redness or sensitivity, avoid introducing any new skincare products in the three days before a shoot. Patch-test anything unfamiliar well in advance. For a full pre-shoot skincare plan, the skincare basics article covers the right timing and approach.
A thin, buildable base
The instinct when you want to look polished on camera is to apply more foundation. The opposite is almost always correct. A thin layer of a medium-coverage foundation, blended perfectly, looks like real skin. A thick layer looks like a mask, sits in lines and moves as the face moves.
Choosing the right formula
For photography, a satin or natural finish foundation is a better choice than matte or dewy. Full matte can read as flat and powdery; full dewy can look oily under flash. Satin catches light naturally and photographs as healthy skin.
Application technique
Apply with a damp beauty sponge in a stippling motion, press and lift rather than drag. Dragging moves product around and creates streaks. Start at the centre of the face, where most coverage is typically needed, and use whatever remains on the sponge to blend outward and downward toward the jaw. Blend past your jawline and onto the neck to avoid any visible line.
Building coverage
Apply one thin layer, wait thirty seconds, and then assess. If you need more coverage in a specific area, add a second thin layer there only, not all over. Layering thin coats builds coverage without the weight of a single heavy application.
Avoiding white flashback: SPF & powders
White flashback is one of the most common and most correctable problems in photography makeup. It happens when ingredients reflect flash light back into the camera at a different wavelength from the rest of the skin.
Physical SPF
Mineral sunscreens, those containing zinc oxide or titanium dioxide, sit on the surface of the skin as reflective particles. Under flash photography, they create a pale, white cast in images even when they look invisible in daylight. On shoot days, switch to a chemical SPF (ingredients like avobenzone or octinoxate) in your moisturiser or primer, or use an SPF specifically formulated to be flash-friendly. Check the ingredients list: if the active ingredient is zinc oxide or titanium dioxide, it will likely cause flashback.
Powders
Heavy powder application causes the same problem. Loose translucent powders, particularly those with a high silica content, can appear white under flash. Use powder sparingly, applied with a light hand, and avoid setting areas like the forehead and cheeks with excess product. If in doubt, set only the T-zone and allow the rest of the face to remain with a light satin finish.
The camera doesn't see what you see. It sees the light bouncing off your skin, and everything you put on it changes that light differently.
Setting, blurring and cream products
Cream products are often better choices for on-camera work than their powder counterparts. Cream blush, cream highlight and cream bronzer move naturally with the skin rather than sitting on top of it, and they pick up light in a way that reads as three-dimensional rather than flat. They also don't add to the powder load, reducing flashback risk.
Cream blush and bronzer
Apply cream blush with clean fingertips or a dense brush, blending well at the edges. Fingertip application gives you the most control and naturally mimics the warmth of real skin. Layer lightly and build gradually, cream products are harder to remove once applied than powder.
Skin-blurring primers
A silicone-based blurring primer fills pores and fine lines before foundation, creating a smooth surface that photographs cleanly. Apply a minimal amount, a very thin layer over the areas you need it, not all over the face. Too much silicone primer causes foundation to separate and slide on long shoot days.
Setting spray
Finish with a fine mist of setting spray to merge all layers and reduce any powderiness. This is particularly important under studio lighting, where a flat powder finish can look dull and lifeless on camera.
Lighting and how it changes makeup
No two shoots are lit the same way, and the lighting setup fundamentally changes what your makeup should do. Understanding the basics lets you adapt on the day.
- Soft box or diffused studio light, this is the most forgiving. Even coverage and natural contouring read beautifully. You have the most flexibility here.
- Harsh direct flash, this flattens the face and washes out shading. Add slightly more definition to the brows and the eyes so that structure isn't lost. Use cream contour sparingly to restore dimension.
- Outdoor daylight, natural light reveals texture and true colour most accurately. A lighter, more skin-like base is ideal. Avoid heavy powder at all costs.
- Warm tungsten or practitioner lights for video, these cast a yellow-orange warmth. Cool-toned foundations can look grey or ashy. Test your base colour under the actual light source before committing.
- Ring lights for close-up video, the circular catch light they create is immediately identifiable. This light is relatively flat but even. Avoid highly dewy or glossy products as they will over-reflect.
If you're working with an unfamiliar lighting setup, ask to see a test shot early in the shoot before the work really begins. It's the fastest and most reliable way to confirm whether your makeup is reading the way you intend. This is standard practice on professional sets and something any good photographer will welcome.
Your on-set touch-up kit
Even flawlessly applied makeup needs refreshing on a long shoot day. A compact touch-up kit, small enough to slip into a bag, keeps you camera-ready between setups:
- Blotting papers, absorb excess oil without disturbing makeup or adding product.
- Small concealer, for under-eye creasing or any blemishes that surface during the day.
- Setting spray in a travel size, one mist revives a tired face and removes powderiness.
- A spare mascara, for smudging or flaking after a long day. Keep it clean and capped.
- A brow pencil or tinted brow gel, brows soften and fade first under lights and sweat.
- Lip colour to match your look, lips need more frequent reapplication than any other product.
- A clean spoolie brush, for quick brow grooming between shots.
Keep all tools clean and products covered. Never share lip products, mascara wands, or eye brushes on set, even when working with other models or talent. The convenience isn't worth the hygiene risk.
Once you're confident with camera makeup, exploring the natural no-makeup look is a useful counterpoint, it uses many of the same principles of restraint and skin-first thinking, but in a very different context.