Makeup
How to Create a Natural No-Makeup Look
The natural no-makeup look is one of the hardest things to do well in beauty, because it asks you to use makeup to appear as though you're wearing none at all. The goal isn't bare, unfinished skin; it's skin that looks at its most alive and even, with every product invisible.
"No-makeup makeup" is a genuine technique, not just a phrase people use to mean wearing less. It requires selecting the right products, applying the minimum amount possible, and understanding that every choice you make should move the look toward looking more like your skin, not less. The skill is restraint, and restraint is harder than excess.
The prerequisite for this look is healthy, well-hydrated skin. Sheer base products are transparent where they have nothing to work with, they show texture, dry patches and uneven tone rather than hiding them. If your routine needs strengthening first, the guide on skincare basics for models is the right starting point.
The goal, skin that looks like skin
It's worth being specific about what this look is trying to achieve, because it guides every decision you make. The target is skin that looks:
- Even in tone, without visible redness, dark patches, or discolouration pulling focus.
- Hydrated and plump, not shiny or dewy in excess, but not matte and flat either.
- Alive with natural warmth, healthy skin has subtle colour variation and warmth that flat coverage removes.
- Effortless, no visible product edges, lines, or the tell-tale uniformity of heavy foundation.
It does not mean invisible, a well-executed natural look takes skill and intentional product use. The difference is that no individual product should be detectable.
Prep and hydrate
Skin prep is more important for this look than for any heavily covered look, because the finished result is transparent. A sheer base will reveal everything prep doesn't address.
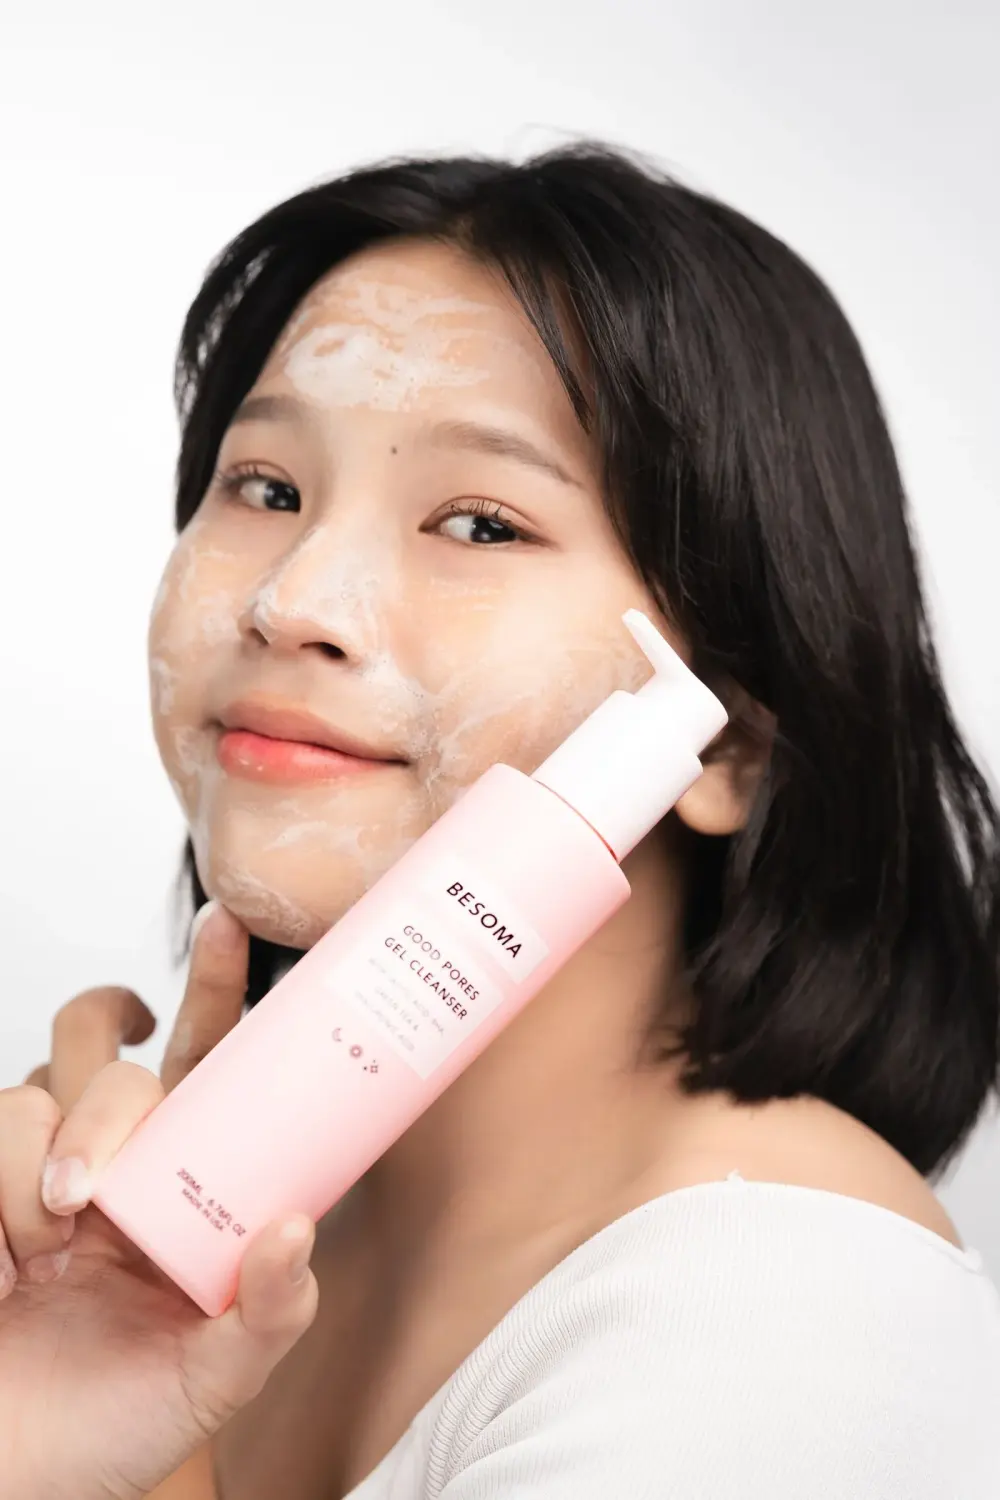
Cleanse and treat
Start with a clean face. A gentle cleanse removes excess oil and the residue from overnight products so that what you apply next sits on clean skin. If you use a vitamin C serum, now is the time, it brightens and evens tone subtly, which reduces the work your base product needs to do.
Moisturise thoroughly
Apply your moisturiser and allow it to absorb fully, at least three to five minutes before you apply anything on top. Rushing this step means your base will move and pill. If your skin is particularly dry, a light facial oil pressed into the skin before moisturiser adds an additional layer of plumpness that sheer products amplify beautifully.
Prime lightly
A hydrating primer, not a pore-filling or mattifying one, gives the sheer base something smooth to sit on. Apply sparingly with fingertips. You do not need primer all over the face: apply it where your skin needs the most help and leave the rest alone.
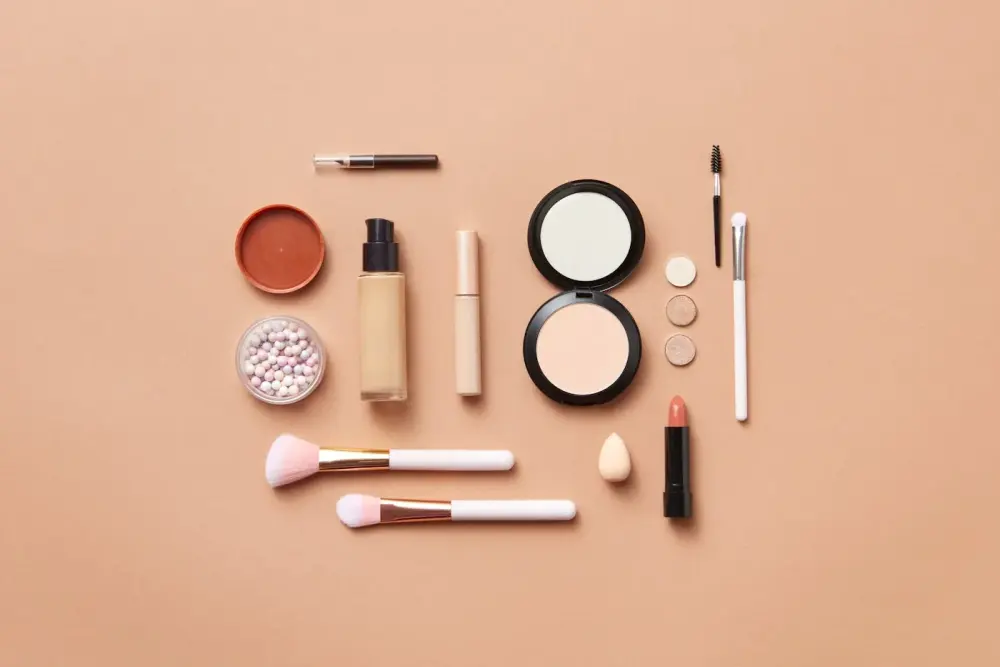
A sheer base or tinted moisturiser
The core product of this look is a sheer base: either a tinted moisturiser, a BB cream, or a very light-coverage skin tint. These formulas give just enough tone-evening to make a difference without the coverage that reads as "makeup."
How to apply
Apply with clean fingertips. The warmth of your hands thins the product and helps it meld with your skin in a way no brush or sponge can fully replicate. Work from the centre outward and downward, pressing and blending rather than rubbing. Use the remaining product on your hands to lightly blend toward the hairline and jaw, you don't want a visible boundary anywhere.
Coverage philosophy
Allow imperfections to show through. The natural no-makeup look is not about covering everything, a small mark, a freckle, a subtle variation in tone is part of what makes skin look real. If you try to build coverage in a sheer base to hide everything, you lose the effect entirely. Accept some visibility; conceal only what genuinely distracts.
Real skin is not uniform. The moment you try to make it so, you no longer look like yourself, you look like makeup.
Conceal only where needed
Concealer in a natural look is surgical, not broad. The goal is to reduce what's visually distracting without adding a layer that reads differently from the rest of the face.
Under the eyes
A peach or salmon-toned corrector cancels blue and purple tones under the eyes before you apply concealer. This means you need less concealer, a thinner layer, to achieve the same result. Tap on with a fingertip, not a brush, and blend the edges to nothing. Use a concealer only a half-shade lighter than your skin tone; going too light creates a bright, visible ring under the eye.
Targeted blemish coverage
Use a small pointed brush and a creamy concealer to spot-conceal any blemishes or redness. Apply only to the spot itself, not the surrounding skin, and blend the very edges with a clean fingertip. Set lightly with a tiny amount of translucent powder pressed on with a fingertip, just enough to prevent transfer.
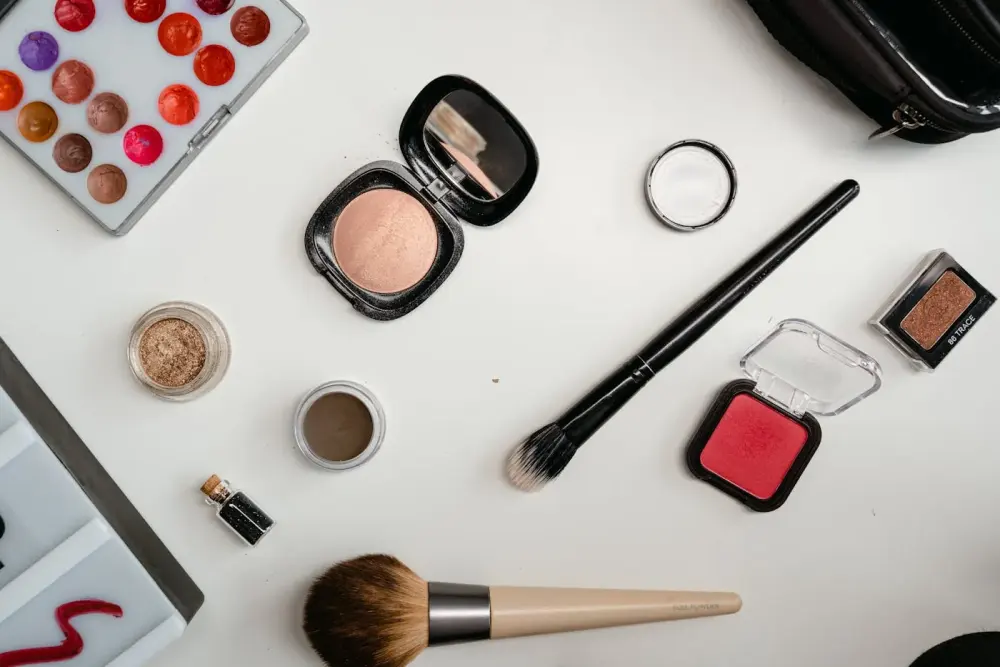
Cream blush and bronzer for a natural finish
Colour is what brings this look to life. Without it, skin-toned base products read as flat and slightly lifeless. Cream products are the right choice here because they melt into the skin rather than sitting on top of it.
Cream blush
Choose a sheer, buildable cream blush in a colour close to what your cheeks look like naturally after light exercise, a warm coral, soft pink, or peachy rose depending on your skin tone. Apply with a fingertip to the high point of the cheeks and tap and blend gently in small circles. The warmth of your finger blends the edges seamlessly. Start with less than you think you need and add gradually, cream blush on warm skin builds quickly.
Bronzer for warmth and dimension
A light cream bronzer or a sheer bronzing balm adds the dimension that sun gives skin, something no base product can replicate. Apply with a large fluffy brush or your fingertips along the temples, the sides of the nose and below the cheekbones. Keep it subtle: the goal is warmth, not contouring. Blend thoroughly so there are no visible edges.
If you're adapting this look for a shoot or video context, the HD makeup guide explains why cream products perform better on camera than their powder equivalents, a principle that applies directly here.
Groomed brows and clean lashes
In a natural look, brows and lashes do the heavy lifting that eye shadow and liner would handle in a more made-up look. They provide structure and definition without reading as "done."
Brows
Brush brows upward with a clean spoolie. If they need filling, use a tinted brow gel rather than a pencil, it adds colour and hold simultaneously while maintaining a soft, brushed-through appearance. Use short, feathery strokes and work with the hair grain. Avoid any sharp lines or precise edges; the goal is a brow that looks naturally full and well-groomed, not drawn.
Lashes
A single coat of brown-black mascara, rather than jet black, defines the lashes without creating a harsh edge that contrasts too sharply with the rest of the look. Apply from the base and wiggle upward. Focus on the outer two-thirds of the lash line to open the eye gently. Skip bottom lashes entirely in a natural look, they add drama that works against the effect. As always, keep your mascara to yourself and replace it every three months.
Lips and the final check
Lips
Lips in a natural look should appear naturally flushed rather than covered. A tinted lip balm or a sheer lip gloss in a shade close to your natural lip colour adds moisture and a healthy flush without the precision edge of lipstick. Apply straight from the product or with a fingertip, there's no need for a lip liner in this context. If your lips are dry, prep them first with a gentle lip scrub the night before and a nourishing balm overnight.
The final check
Step back from the mirror, ideally to at least arm's length, and look at the overall effect rather than individual features. You're checking for:
- Any visible foundation or concealer edges, particularly at the jaw and hairline.
- Blush or bronzer that looks patchy or placed rather than blended into the skin.
- Brow product that looks drawn rather than natural.
- Any single feature that reads as "done" and pulls focus from the overall skin-first effect.
If anything stands out, blend further rather than adding more product. In the natural no-makeup look, more product is almost never the solution. If you want to understand the full repertoire of foundational skills before going further, revisit the complete guide on makeup basics for beginners.